


The Tesla Charge Connector is vital for EV owners, but a common issue of broken latch mechanisms due to wear or damage can affect charging reliability. Repairs require understanding the connector's structure, with reputable auto body shops offering services. DIY repairs are manageable by locating debris, disassembling, inspecting parts, installing a replacement latch, and reassembling. Regular maintenance, including cleaning and inspecting for wear, is crucial to extend the connector's lifespan and prevent costly repairs.
“Ensure your Tesla’s charging efficiency with this comprehensive guide to repairing a broken latch mechanism on the Charge Connector. Common issues can arise, causing inconvenience and potential safety hazards. We’ll ‘dive into’ understanding the component, its function, and common problems. This step-by-step repair tutorial offers a practical solution for DIY enthusiasts or service centers. Additionally, we provide preventive measures and maintenance tips to safeguard against future repairs, optimising your Tesla’s charging experience.”
- Understanding the Tesla Charge Connector and Its Common Issues
- Step-by-Step Guide to Repairing a Broken Latch Mechanism
- Preventive Measures and Maintenance Tips for Future Repairs
Understanding the Tesla Charge Connector and Its Common Issues

The Tesla Charge Connector is a vital component for electric vehicle owners, enabling them to recharge their cars quickly and conveniently. This compact yet powerful device has undergone several design iterations over the years, but like any mechanical part, it’s not immune to wear and tear. One of the most common issues reported by Tesla owners is a broken latch mechanism on the Charge Connector. This problem can occur due to frequent use, exposure to harsh weather conditions, or accidental damage, leading to an unreliable connection during charging.
Understanding the underlying structure of the connector is essential for effective repairs. The latch mechanism secures the connector to the vehicle’s charging port, ensuring a robust electrical connection. When this component fails, it may result in difficulties when plugging in and unplugging the charger, or even render the connector unusable. Fortunately, Tesla Charge Connector repair services are available at reputable auto body shops, offering solutions without the need for a trip to the manufacturer. These shops can replace the broken parts, ensuring your vehicle is back in top working order and ready to tackle the electric charging network with confidence.
Step-by-Step Guide to Repairing a Broken Latch Mechanism
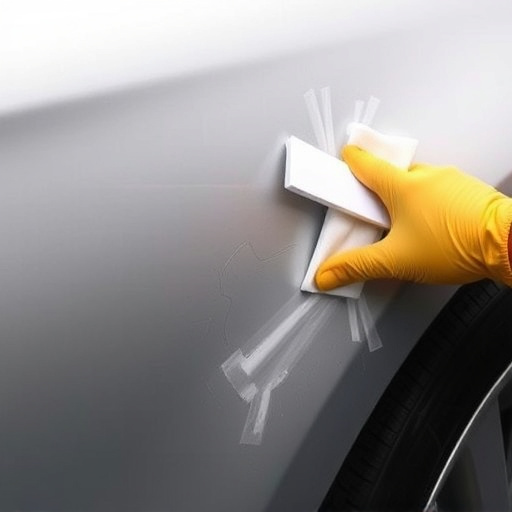
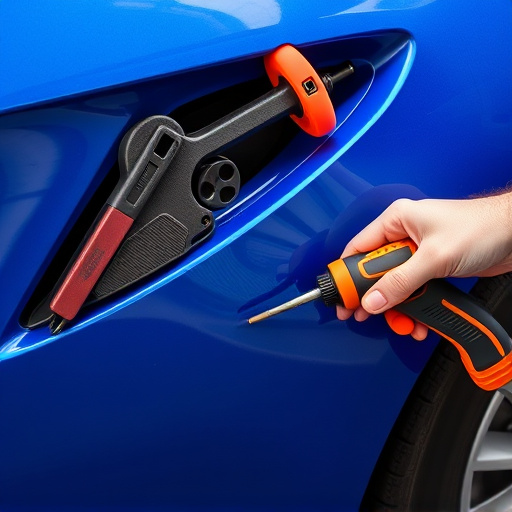
Repairing a broken latch mechanism on your Tesla charge connector is a straightforward process that can be accomplished with basic tools and some patience. Begin by locating the damaged component, typically found at the base of the connector. Remove any debris or foreign objects trapped within the latch mechanism using a fine-tipped tool like a tweezers. Next, disassemble the connector carefully, unscrewing any visible bolts or screws securing the latch assembly. Once separated, inspect the broken parts for any usable components that can be reused.
Using a suitable replacement part from an auto body services provider, install the new latch mechanism by aligning the holes and securely fastening the bolts or screws. Ensure all moving parts operate smoothly before reassembling the connector. Regular maintenance and prompt attention to issues like a broken latch mechanism are essential for keeping your Tesla’s charging system in top condition, alongside regular tire services and auto dent repair as part of overall vehicle care.
Preventive Measures and Maintenance Tips for Future Repairs

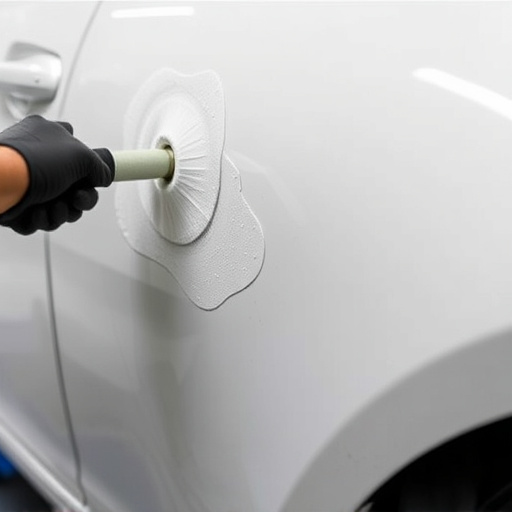
Regular maintenance and careful handling can significantly extend the lifespan of your Tesla’s charge connector. Preventive measures include keeping the port clean and free from debris to prevent damage during plugging and unplugging. A gentle, regular cleaning with a soft cloth or brush can remove any dust or dirt accumulation. Additionally, checking for any signs of wear or damage after each use and addressing them promptly is crucial.
For future repairs, consider storing your vehicle in a sheltered area to minimize exposure to harsh weather conditions that could accelerate connector deterioration. Furthermore, regular inspection of the automotive body shop’s maintenance records can help identify potential issues early on. Like with tire services, staying proactive about charge connector care can save you from costly and unexpected repairs down the line.
In conclusion, addressing a broken latch mechanism on your Tesla Charge Connector is both feasible and cost-effective. By understanding the common issues associated with this component and following a straightforward step-by-step guide, owners can effectively repair their connectors. Additionally, implementing preventive measures and regular maintenance tips can significantly reduce the likelihood of future repairs, ensuring a seamless charging experience for your electric vehicle. Remember, when it comes to Tesla charge connector repair, taking proactive steps is key.