


Safety measures for Tesla charge connector repair include personal protective equipment, well-ventilated workspace, and disconnecting power sources. Repairs should be left to qualified professionals to avoid electrical hazards. Inspect connectors for damage or unusual signs, use correct tools, and replace with genuine Tesla parts. Rigorous testing post-replacement is crucial for optimal charging performance and vehicle safety.
Looking to fix your Tesla’s faulty charge connector safely and efficiently? This guide is your roadmap. We’ll walk you through meticulous steps, from understanding essential safety precautions to identifying and replacing the problematic connector. No more struggling with complex procedures—this tutorial ensures a smooth process. Learn how to navigate the repair process effectively, ensuring your Tesla’s charging port functions optimally for seamless electric vehicle ownership. Master the art of Tesla charge connector repair today!
- Safety Precautions Before Repairing Tesla Connector
- Identifying and Removing Faulty Charge Connector
- Replacing and Testing Tesla's Charging Port Correctly
Safety Precautions Before Repairing Tesla Connector

Before attempting a Tesla charge connector repair, prioritizing safety is paramount. This involves wearing appropriate personal protective equipment (PPE), including insulated gloves and safety glasses, to safeguard against electrical hazards. The workspace must be well-lit and free from any flammable materials or substances that could ignite if exposed to an electrical arc. Ensure proper ventilation as well, to mitigate the risk of inhalation of harmful fumes during the repair process.
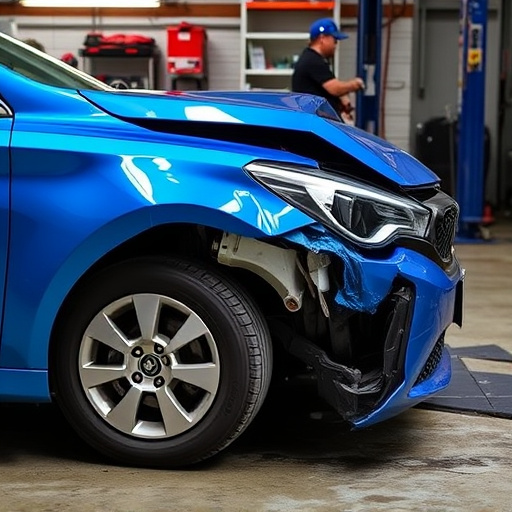
It’s crucial to disconnect the Tesla vehicle from its power source before initiating any repairs on the charge connector. This step is vital in preventing accidental shocks and short circuits. If the car is still connected, even through a seemingly inactive charger, it’s best to leave the task to qualified professionals at a trusted collision repair center or auto body repairs shop. They have the expertise and tools to perform Tesla charge connector repairs safely, without compromising the integrity of your vehicle’s electrical system.
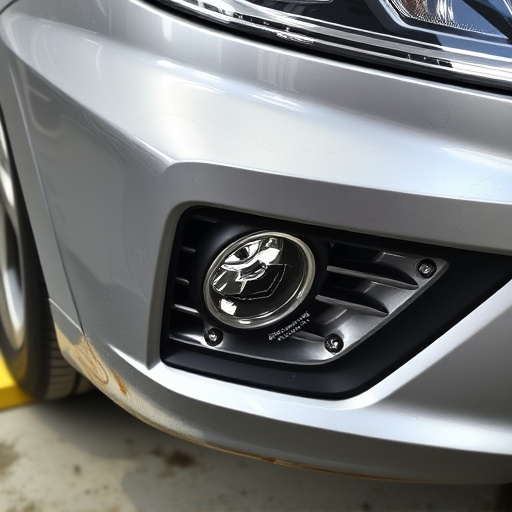
Identifying and Removing Faulty Charge Connector

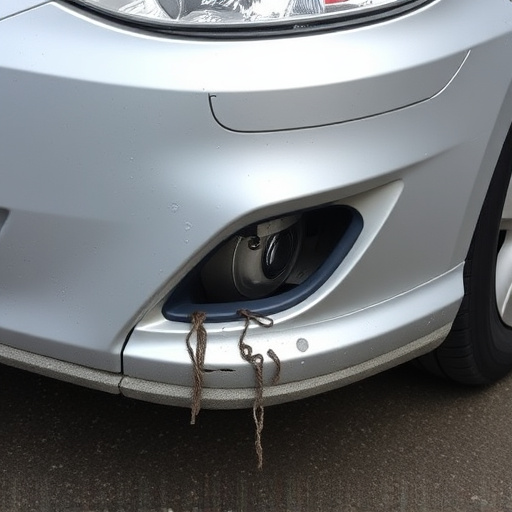
Identifying a faulty Tesla charge connector is the first step towards a successful repair. Start by inspecting the connector for any visible damage, such as cracked or missing parts, loose connections, or signs of wear and tear. Check if there are any unusual noises or smells when you attempt to connect your vehicle to a power source, as these could indicate internal issues. If you notice any discrepancies, it’s crucial to act promptly; neglecting these symptoms might lead to more significant problems during charging, compromising the safety and efficiency of your Tesla.
When ready, carefully remove the connector from its port using specialized tools designed for Tesla charge connector repair. This process requires precision and a thorough understanding of car body repair techniques to avoid damaging other components. Ensure that you follow manufacturer guidelines and consider seeking professional assistance if you’re unfamiliar with the process, especially when dealing with car collision repair or restoration work.
Replacing and Testing Tesla's Charging Port Correctly
When performing a Tesla charge connector repair, replacing the charging port is a crucial step that demands precision and attention to detail. It’s essential to use genuine Tesla replacement parts to ensure compatibility and maintain the vehicle’s safety standards. Before installing the new connector, thoroughly inspect the existing port for any signs of damage or wear. Clean the area with a suitable degreaser to remove any buildup, ensuring a clean and secure fit. Once the new charge connector is in place, test it rigorously. Connect your Tesla to a charging station and verify the power output and charging speed, confirming that the repair has restored full functionality.
Proper testing extends beyond basic connectivity. Check for any unusual noises or vibrations during the charging process, indicating potential issues with the connector’s internal components. Visual inspections should also include examining the port’s sealing for any cracks or leaks, as these could compromise both charging efficiency and vehicle safety. If you’re not comfortable performing these tests yourself, consult a reputable auto repair shop offering specialized Tesla charge connector repair services, ensuring your car is in capable hands.
Performing a Tesla charge connector repair requires careful attention to safety precautions, proper identification of faulty components, and meticulous replacement procedures. By following these steps and adhering to safety guidelines, you can effectively address charging issues, ensuring your Tesla remains a reliable and efficient electric vehicle. Remember, when it comes to Tesla charge connector repair, safety and precision are paramount.