


Tesla charge connector issues common due to use and environment; proper diagnosis needed before repair. Consult professionals for expert advice. Repairs range from tightening connections to replacing damaged parts and conducting paint repairs. Assemble a kit with essential tools and specific replacement connectors. Assess connector state, consider bodywork/auto painting knowledge. DIY repair saves costs but prioritize safety; disconnect vehicle, wear protective gear, inspect, disassemble, clean, repair/replace, reassemble securely. Complex wiring issues: consult professional technician.
Struggling with a faulty Tesla Charge Connector? This step-by-step guide is your solution. Learn how to identify common issues plaguing these essential charging components and gather the tools needed for a successful repair. We’ll walk you through each process, ensuring your Tesla’s charging experience is seamless again. By following this comprehensive guide, you’ll master the art of Tesla charge connector repair, saving time and money while keeping your electric vehicle in top shape.
- Understanding Tesla Charge Connector Issues
- Gathering Tools and Parts for Repair
- Step-by-Step Guide to Fixing the Connector
Understanding Tesla Charge Connector Issues

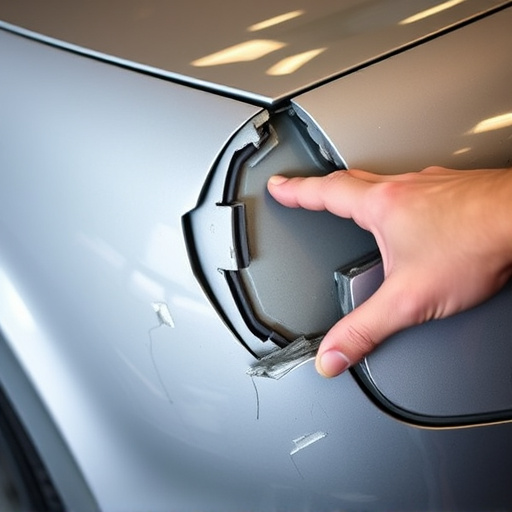
Tesla Charge Connector issues can arise due to various factors, making Tesla charge connector repair a common necessity for owners. These problems often manifest as difficulties in connecting or maintaining a stable connection during charging. One prevalent issue is loose connections caused by frequent use or environmental exposure, leading to intermittent charging or even complete disconnection. Another common problem is physical damage, such as cracks or breaks in the connector housing, which can occur after a fender bender or due to rough handling.
Proper diagnosis is crucial before attempting any Tesla charge connector repair. If you suspect an issue, it’s recommended to consult professional auto body services or Tesla service centers for expert advice. While some minor adjustments like tightening connections might be manageable, more complex repairs may involve replacing damaged parts, especially in cases where the car paint repair is also necessary after a previous accident or mishap.
Gathering Tools and Parts for Repair

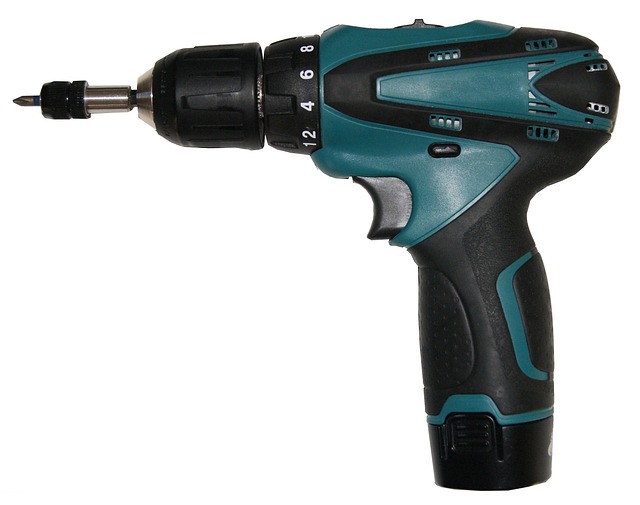
Before tackling any Tesla charge connector repair, ensure you have all the necessary tools and parts at hand. This includes a set of basic automotive tools like screwdrivers, pliers, and wire strippers, along with high-quality replacement connectors specifically designed for your Tesla model. Online retailers offer a wide range of options suitable for DIY enthusiasts or those seeking professional-grade Tesla charge connector repair.
Gathering the correct components is crucial for a successful fix. Consider the state of your current connector: is it cracked, damaged, or simply worn out? This will dictate the type and quantity of replacement parts required. Some basic knowledge of car bodywork services and auto painting techniques might also come in handy, especially if you’re planning to restore or replace surrounding components as part of a broader repair process.
Step-by-Step Guide to Fixing the Connector

Fixing a Tesla charge connector is a manageable task for vehicle owners looking to avoid costly auto repairs. Here’s a step-by-step guide tailored for Tesla owners:
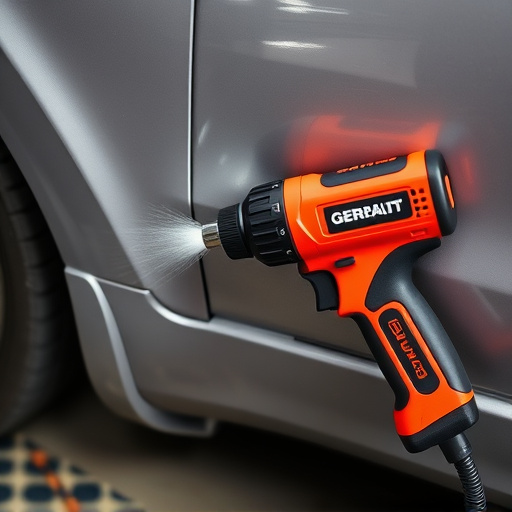
1. Safety First: Always disconnect your Tesla from any power source before beginning repair work. Protect yourself with safety glasses and gloves, especially when handling electrical components. For complex cases where the issue might be linked to the vehicle’s wiring, consider consulting a professional technician to prevent potential hazards related to electricity, such as short circuits or shocks.
2. Inspect and Assess: Carefully examine the charge connector for any visible damage, including cracks, loose connections, or deformations. If the bumper repair is needed due to impact, ensure that the area around the connector is also in good condition before proceeding with the repair. Some issues might be resolved by tightening connections, while others may require replacement parts, such as a new charge port or cable.
3. Disassemble: Using the appropriate tools, carefully take apart any components that need replacing. This could involve detaching cables, unscrewing fixtures, and removing surrounding plastic covers. Pay close attention to how each piece is connected for easier reassembly later. For instance, if auto glass repair is needed due to a shattering or cracking of the cover, be meticulous in preserving any existing markings or alignment guides for accurate replacement.
4. Clean and Repair: Remove any debris or corrosion from the connector and its surrounding area using appropriate cleaning tools. Check for loose connections and tighten them as needed. If a cable is damaged beyond repair, replace it with a new one that meets Tesla’s specifications. Ensure all components are properly seated before proceeding.
5. Reassemble: Put the disassembled parts back together, following the steps in reverse order. Double-check each connection to ensure everything is secure and properly aligned. Make sure any seals or gaskets are correctly fitted for optimal weatherproofing.
Fixing a Tesla Charge Connector is now easier with this comprehensive guide. By understanding common issues, gathering the right tools and parts, and following these simple steps, you can efficiently address and resolve connector problems. Remember, proper maintenance and timely repairs are key to ensuring your Tesla’s charging experience remains seamless. For any unforeseen challenges, don’t hesitate to consult professional assistance for a guaranteed fix. Keep your Tesla charged and on the road with confidence!