


Tesla charge connector issues caused by weather, frequent use, debris, and worn seals require specialized repairs. Auto collision centers with experienced technicians are recommended for effective solutions. Before DIY repairs, gather essential tools like screwdrivers, wire strippers, soldering iron, and safety gear. Disconnect the battery, carefully remove the damaged connector, inspect for damage, clean the area, install the new connector, and double-check connections. Professional guidance is advised for optimal Tesla charge connector repair outcomes.
Considering a DIY Tesla charge connector repair? You’re not alone. Many Tesla owners face issues with their connectors, leading to inconveniences. Understanding common problems and taking preventive measures can save you time and money. This guide will walk you through the process, from identifying issues to fixing your connector. We’ll provide essential insights, list required tools and materials, and offer a step-by-step approach, empowering you to tackle this task effectively. Learn how to DIY Tesla charge connector repair with confidence!
- Understanding Tesla Charge Connector Issues
- Gather Tools and Materials for Repair
- Step-by-Step Guide to Fixing Your Connector
Understanding Tesla Charge Connector Issues
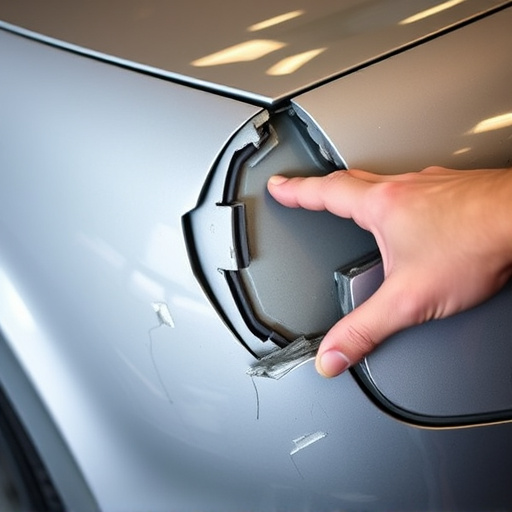
Tesla Charge Connector Issues can arise due to a variety of factors unique to both electric vehicle technology and individual usage patterns. Frequent use, exposure to harsh weather conditions, and accidental damage are common culprits behind malfunctioning connectors. Over time, the connector’s rubber seals can deteriorate, leading to water intrusion and potential short circuits. Moreover, debris or foreign objects caught within the port can disrupt charging and cause intermittent connection problems.
Understanding these potential issues is crucial when considering a Tesla charge connector repair. Unlike conventional vehicles, luxury vehicle repairs like those for Mercedes Benz models often involve specialized tools and knowledge to handle EV components accurately. An auto collision center equipped with experienced technicians and advanced diagnostic tools is best suited to diagnose and fix these challenges effectively, ensuring your electric vehicle remains reliable and safe to use.
Gather Tools and Materials for Repair
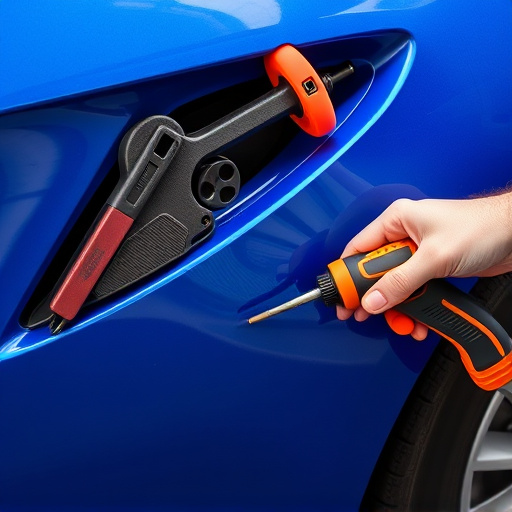
Before beginning any DIY Tesla charge connector repair, ensure you have all the necessary tools and materials at hand. This includes a set of precision screwdrivers (both flathead and Phillips), wire strippers, soldering iron with flux, and replacement connectors or cables if needed. Additionally, gathering safety gear such as gloves and safety glasses is crucial to protect yourself from potential hazards during the repair process.
For more complex issues, you might need access to a multimeter for diagnostic purposes, similar to diagnosing a vehicle dent repair or even a Mercedes Benz collision repair. Remember, proper preparation with the right tools and materials can make all the difference in successfully repairing your Tesla charge connector, ensuring your electric vehicle remains charged and ready to hit the road.
Step-by-Step Guide to Fixing Your Connector
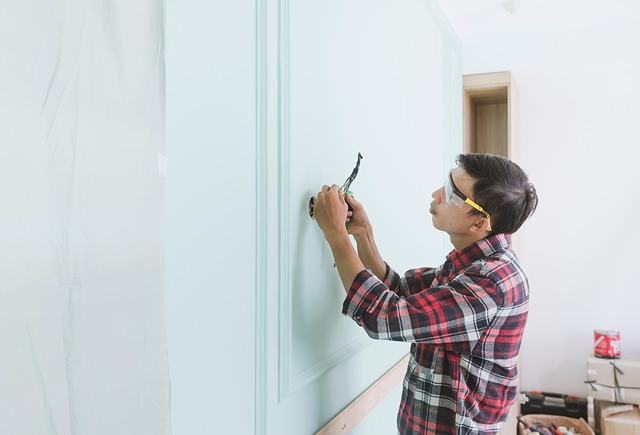
Before tackling a Tesla charge connector repair, it’s important to understand that this process involves intricate components and specific tools. Start by gathering all necessary materials, including replacement parts, screwdrivers, and wire strippers. First, disconnect the battery to ensure safety during the repair process. Next, carefully remove the damaged connector from the vehicle, taking note of its orientation and any connected wires.
Inspect the connector for any signs of collision damage repair or car dent removal, as these could impact the charging capabilities. Once the old connector is out, clean the area thoroughly to prepare for installing the new one. Follow a step-by-step guide or consult professional resources to ensure proper alignment and connection of the replacement parts. Verify all connections are secure before reattaching the connector to the vehicle, ensuring everything functions as expected. Remember, DIY auto repair shops can handle Tesla charge connector repairs, but seeking expert advice is crucial for optimal results.
Repairing your Tesla charge connector can save you time and money, especially as a DIY project. By understanding common issues and gathering the right tools, you can confidently tackle this task. Following a detailed step-by-step guide ensures a successful repair, allowing you to get back to charging your Tesla efficiently. With these insights, you’re equipped to navigate the process, making it a valuable skill for any Tesla owner. Now, you can take on this DIY challenge with confidence and keep your electric vehicle’s charging system in top shape!