


Tesla charge connector issues arise from regular use, weather, and accidents, causing loose connections or damaged pins. Using genuine OEM parts from trusted auto collision centers ensures proper repair, maintaining safety standards and vehicle warranty. Specialized workshops offer frame straightening and charge connector repairs, restoring optimal charging conditions for Tesla owners.
Tesla owners often face charging inconveniences due to issues with their vehicle’s charge connectors. This comprehensive guide addresses the common problems and provides a step-by-step approach to repairing or replacing them using genuine OEM (Original Equipment Manufacturer) parts. By understanding typical connector failures and sourcing authentic parts, you can ensure reliable and efficient charging for your Tesla. We’ll walk you through the process, ensuring your vehicle’s charging system functions seamlessly once more.
- Understanding Tesla Charge Connector Issues
- Sourcing Genuine OEM Parts for Repair
- Step-by-Step Guide to Effective Replacement
Understanding Tesla Charge Connector Issues

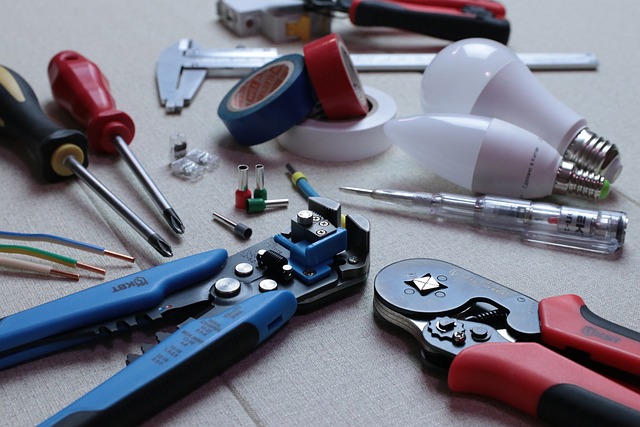
Tesla Charge Connector Issues are common due to frequent use, exposure to harsh weather conditions, and potential damage during accidents. These connectors play a vital role in charging your Tesla vehicle, making their proper functioning crucial for seamless electric mobility. Over time, wear and tear can lead to issues like loose connections, damaged pins, or even complete disintegration of the connector.
For accurate Tesla charge connector repair, it’s essential to source genuine OEM (Original Equipment Manufacturer) parts from a trusted auto collision center or car repair shop. Using aftermarket components might compromise the connectivity and safety standards set by Tesla. A well-equipped and specialized workshop can offer frame straightening services along with charge connector repairs, ensuring your vehicle returns to its optimal condition for efficient and safe charging.
Sourcing Genuine OEM Parts for Repair

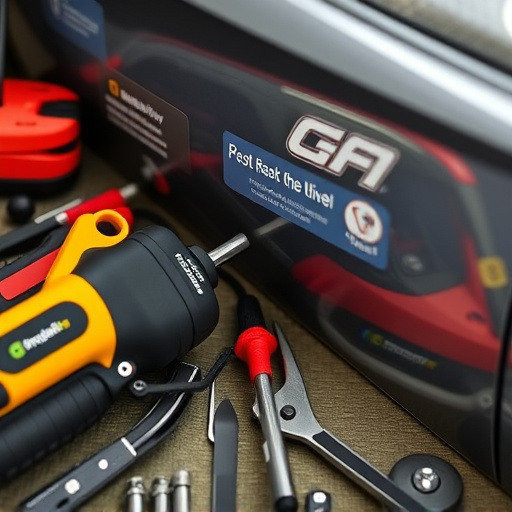
When undertaking Tesla charge connector repair, sourcing genuine OEM (Original Equipment Manufacturer) parts is paramount for ensuring both quality and compatibility. These parts are specifically designed and manufactured to fit your Tesla model seamlessly, offering optimal performance and longevity. Opting for genuine components from the manufacturer not only guarantees a perfect structural match but also adheres to the vehicle’s stringent safety standards.
Compared to aftermarket alternatives, genuine OEM parts offer superior durability and reliability, making them a preferred choice for both professional automotive body shops and DIY enthusiasts. Moreover, using Tesla’s official components ensures that your vehicle retains its original warranty, providing peace of mind during repairs. Whether it’s a paintless dent repair or more intricate connector issues, having the right OEM parts readily available is crucial for successful and long-lasting Tesla charge connector repair.
Step-by-Step Guide to Effective Replacement

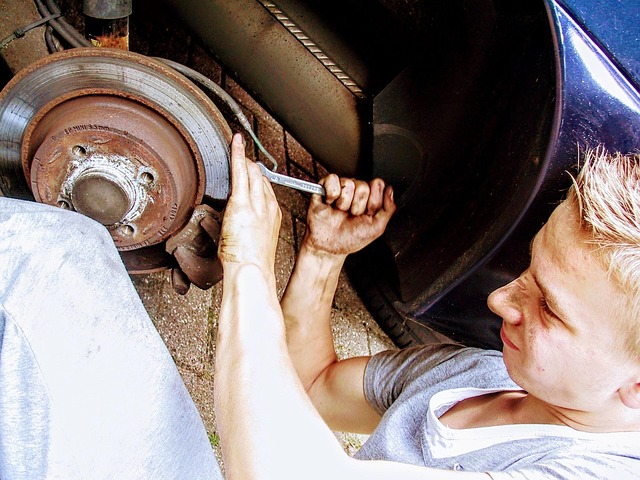
Replacing a Tesla charge connector is a relatively straightforward process when done by an experienced hand or at a reputable auto body shop. Here’s a step-by-step guide to ensure effective repair and optimal charging performance for your Tesla:
1. Safety First: Always disconnect your Tesla from the power source before beginning any repair work. Double-check that all circuits are dead to avoid electrical shocks, especially if you’re dealing with the high-voltage system.
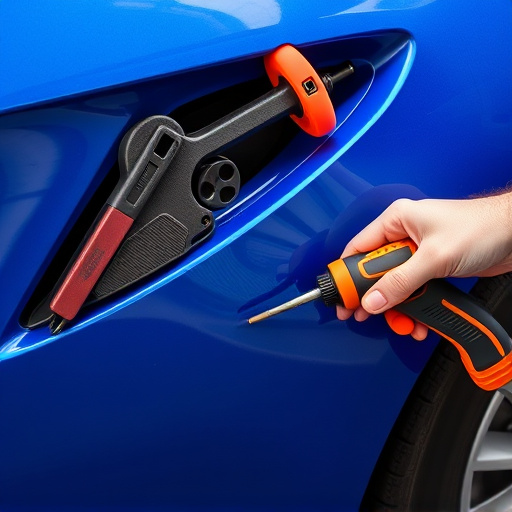
2. Remove the Damaged Connector: Using the right tools, carefully remove the old charge connector from its housing. Be mindful of the surrounding components to prevent damage during this process. This might involve detaching wires or unscrewing components, depending on your Tesla model.
3. Inspect and Prepare: Examine the remaining car bodywork for any signs of damage in the vicinity of the connector. If there’s been a fender bender or other impact, address these issues before proceeding to ensure a secure fit for the new connector. Clean the area thoroughly to remove any debris or corrosion that could affect connections.
4. Install Genuine OEM Parts: Procure genuine Tesla OEM parts for the repair. Using original equipment manufacturer (OEM) parts ensures compatibility and longevity. Mount the new charge connector, securing it according to Tesla’s specifications. Double-check all connections are snug and correct before moving on.
5. Test and Verify: After reassembling the car bodywork, carefully test the charging system to ensure the new connector is functioning correctly. This step might involve trying to charge your Tesla at a dedicated station or using a compatible home charger.
Tesla charge connector repairs using genuine OEM parts are an effective solution for addressing charging issues. By understanding common problems and sourcing authentic replacement components, vehicle owners can ensure their Teslas maintain optimal charging capabilities. Following a detailed step-by-step guide guarantees successful replacement, allowing folks to navigate the process with confidence. For efficient Tesla charge connector repair, prioritizing genuine OEM parts is key.