


Tesla charge connector issues require skilled repair for reliable charging. Use proper tools and genuine parts, inspect for damage, follow guidelines for disassembly and reassembly, replacing as needed. Test after repair with a compatible cable to ensure functionality.
Looking to fix your Tesla Charge Connector? This comprehensive guide walks you through common issues, gathering essential tools and parts, and provides a step-by-step process for successful repairs. Understanding the unique challenges of Tesla connectors is key, so we start there. Then, equip yourself with the right kit and follow along to restore functionality safely and effectively. Revitalize your EV charging experience with this easy-to-follow Tesla charge connector repair tutorial.
- Understanding Tesla Charge Connector Issues
- Gathering Tools and Parts for Repair
- Step-by-Step Guide to Fixing the Connector
Understanding Tesla Charge Connector Issues

Tesla Charge Connector issues can arise from various factors, often affecting the vehicle’s charging capabilities. One common problem is damage due to car collisions or accidents, where the connector may sustain physical injury, leading to charging disruptions. Similarly, over time, wear and tear can impact the connector’s performance, causing intermittent connection failures. These issues are not just inconvenient; they can also hinder the overall efficiency of electric vehicle (EV) ownership.
Proper diagnosis is key to addressing these problems. In many cases, a simple inspection may reveal loose connections or visible damage. However, for more complex issues, specialized tools and expertise in Tesla Charge Connector repair are required. Auto body repair professionals skilled in handling car collision repairs can play a pivotal role in restoring the connector’s functionality, ensuring your EV charges efficiently and reliably.
Gathering Tools and Parts for Repair

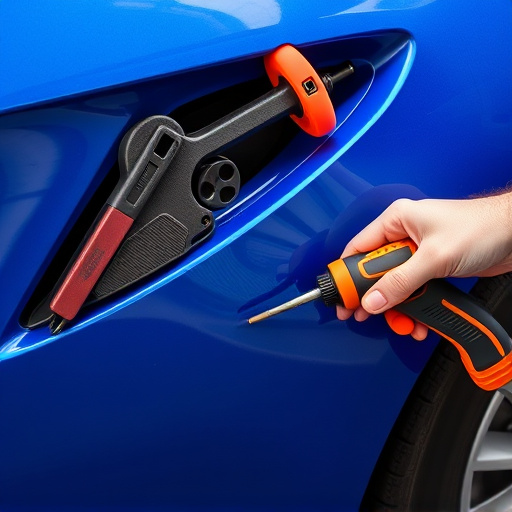
Before tackling any Tesla charge connector repair, it’s essential to gather the right tools and parts specifically designed for this task. For a successful Tesla charge connector repair, you’ll need a selection of basic tools like screwdrivers (both flathead and Phillips), wire strippers, and a multimeter. Specialized parts such as replacement connectors, cables, and sealing compounds are crucial for ensuring a secure and reliable connection after the repair.
When it comes to hail damage repair or even Mercedes Benz repair, the same principles apply. You’ll want to source high-quality replacement parts that match your Tesla’s specifications. This attention to detail is vital for preventing further damage and guaranteeing the longevity of your vehicle’s charging system, whether it’s undergoing a simple vehicle body repair or a more complex overhaul.
Step-by-Step Guide to Fixing the Connector

If your Tesla’s charge connector is damaged, don’t panic. A well-planned Tesla charge connector repair can have your vehicle back to its efficient charging self in no time. Here’s a step-by-step guide for tackling this task:
1. Safety First: Before beginning any repairs, ensure the battery and power systems are switched off. This is crucial for preventing any accidents during the process. Remove any debris around the connector and inspect the damage thoroughly. Identifiying the specific issue – whether it’s a cracked housing, frayed wires, or loose connections – will guide your next steps.
2. Disassemble with Care: Carefully disassemble the connector according to Tesla’s guidelines (available in their service manuals). Take note of how each component is connected and arranged for reference later. This involves detaching cables, unscrewing brackets, and carefully separating the housing from the vehicle. During this process, pay close attention to detail, especially if you’re tackling a complex repair after a vehicle collision repair.
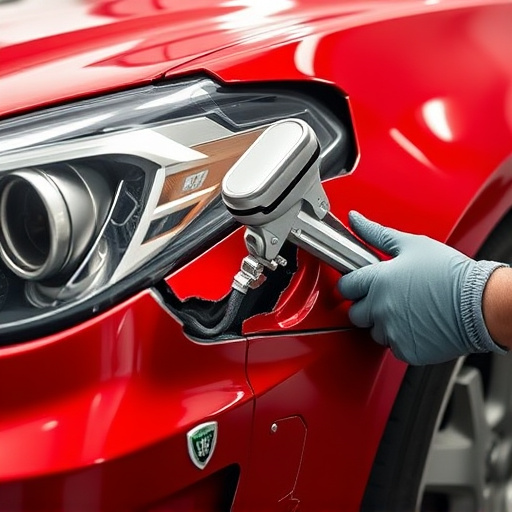
3. Inspect and Replace If Necessary: Examine each part closely, looking for signs of damage or wear and tear. If any component is beyond repair, replace it with genuine Tesla parts. For minor dents or scratches in the vehicle bodywork, consider using specialized automotive restoration tools to restore the connector to its original condition.
4. Reassemble and Test: Once all new or repaired components are installed, carefully reassemble the connector, following the reverse steps of disassembly. Double-check connections for any signs of loose wiring. After reassembling, test the connector by plugging in a compatible charging cable to ensure it charges your Tesla smoothly.
Repairing a Tesla Charge Connector is a feasible task for owners looking to address common issues. By understanding the potential problems, gathering the necessary tools and parts, and following a step-by-step guide, you can effectively fix your connector and ensure hassle-free charging sessions. Armed with this knowledge, you’ll be well-equipped to tackle any minor repairs yourself, saving time and money while maintaining your Tesla’s optimal performance.