


Tesla owners face V3 Supercharging issues often due to damaged connectors. Efficient solutions require prompt inspection and professional Tesla charge connector repair. Visual inspect for damage, use diagnostic tools if needed, and engage specialized automotive services for precise troubleshooting and replacement parts. This guide emphasizes preparation, safety, regular maintenance, and recommends seeking professional help for assistance.
Experiencing issues with your Tesla’s V3 Supercharger? The culprit might be a faulty charge connector. This comprehensive guide delves into diagnosing and repairing these connectors, ensuring your electric vehicle (EV) can harness fast-charging power seamlessly. Understanding the common V3 Supercharging problems and learning how to repair your connector can save you time and money. Get ready to transform your charging experience with this step-by-step Tesla charge connector repair tutorial.
- Understanding Tesla V3 Supercharging Issues
- Diagnosing Charge Connector Problems
- Step-by-Step Repair Guide for Connectors
Understanding Tesla V3 Supercharging Issues
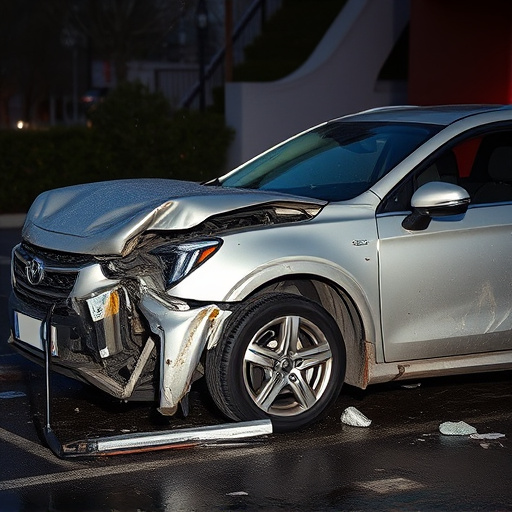
Tesla V3 Supercharging issues have been a growing concern among Tesla owners, leading to the need for efficient and effective solutions. One of the primary problems is related to the charging connector, which is essential for fast and reliable charging. Over time, these connectors can sustain damage due to various factors, including exposure to harsh weather conditions, frequent use, or even minor accidents, requiring a Tesla charge connector repair.
When encountering challenges with V3 Supercharging, such as slow charging speeds or connection failures, it’s crucial to inspect the charger and connector for any signs of damage or wear. Minor issues like bent pins or a slightly damaged housing can significantly impact the charging efficiency. Therefore, addressing these problems promptly through professional Tesla charge connector repair services is vital to ensure optimal charging performance and prevent further complications, especially when compared to the meticulous work required in a collision center for mercedes benz repair.
Diagnosing Charge Connector Problems
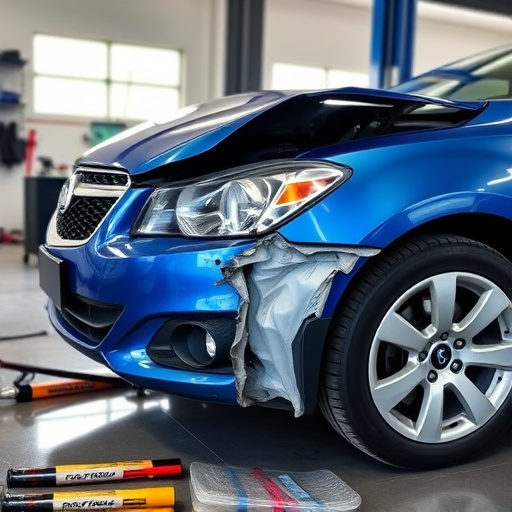
Diagnosing charge connector problems is a critical step in addressing Tesla Supercharging issues with V3 stations. The first step is to visually inspect the connector for any signs of damage, such as cracked or missing parts, which could indicate physical harm. Additionally, checking for loose connections and corroded contacts within the port is essential, as these issues can hinder the charging process. Many times, a simple cleaning of the contacts with a specialized tool can resolve these problems.
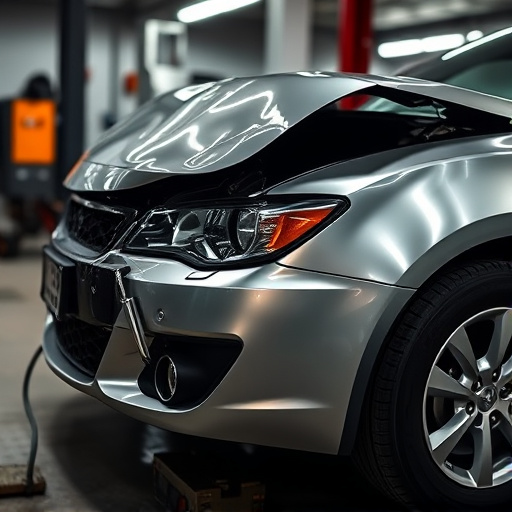
If the initial visual check does not reveal any obvious faults, utilizing advanced diagnostic tools tailored for Tesla vehicles becomes necessary. These tools can pinpoint specific issues within the charge connector, such as communication errors or power delivery problems. Engaging automotive repair services specializing in electric vehicle maintenance is advisable, considering the intricate nature of these systems. Unlike classic car restoration projects, which may involve meticulous detail work, Tesla auto body repairs focus on precise troubleshooting and replacement parts to ensure optimal charging efficiency.
Step-by-Step Repair Guide for Connectors
Following a series of V3 Supercharging issues, many Tesla owners have found themselves needing to address the charge connector repair process. Fortunately, with the right tools and guidance, this can be done efficiently. Here’s a step-by-step repair guide tailored for Tesla charge connectors:
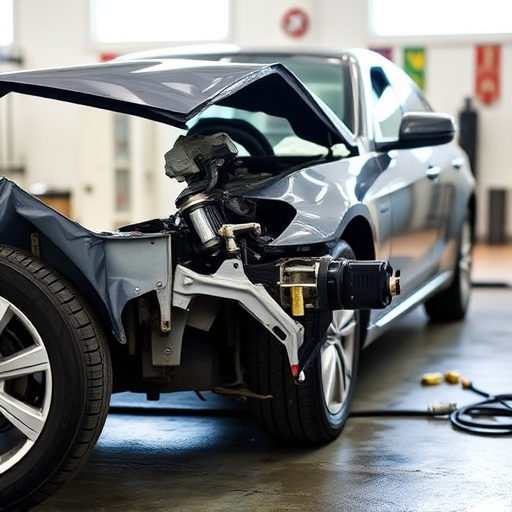
1. Preparation: Begin by ensuring your workspace is clean and well-lit. Gather all necessary tools, including a set of screwdrivers, wire strippers, and any replacement parts you may need. Remember to unplug the connector from the vehicle battery before starting. For those seeking professional assistance, consider reaching out to an auto repair near me specializing in electric vehicles for reliable automotive repair services.
2. Inspection: Inspect the charge connector for any visible signs of damage, such as cracks, frayed wires, or loose connections. This step is crucial in identifying the root cause of charging issues. If you notice any damaged components, carefully remove them and replace them with new ones to ensure optimal performance. Regular auto maintenance can help prevent such issues from arising in the future.
Tesla owners experiencing issues with their V3 Supercharging connectors can now effectively address these problems through a comprehensive understanding of the V3 system and a detailed repair guide. By identifying common challenges like damaged or loose connectors, prompt action can prevent further complications. With the right tools and knowledge, users can perform a Tesla charge connector repair, ensuring seamless charging experiences. Remember, a well-maintained charging infrastructure is key to an efficient electric vehicle (EV) ownership journey.