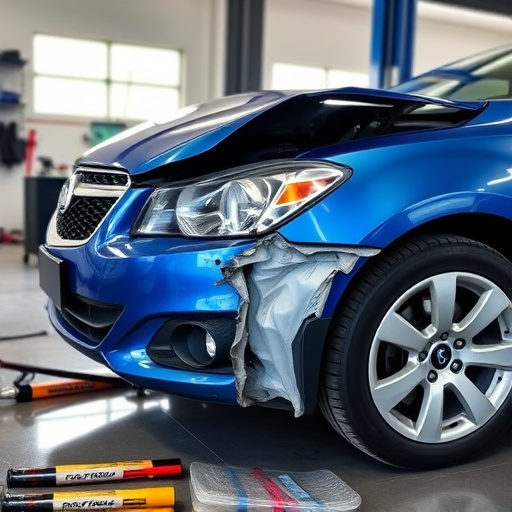


Tesla charge connector issues often stem from faulty communication pins. Specialized Tesla charge connector repair services are recommended for modern EVs like Teslas, addressing symptoms and root causes efficiently. Mechanics use diagnostic tools to check voltage levels and identify pin damage caused by wear or environmental factors. Repair involves cleaning, reinserting pins, securing the connector with adhesive, and testing for successful charging.
Experiencing communication issues with your Tesla’s charging connector? You’re not alone. Faulty pins are a common problem, disrupting seamless charging. This comprehensive guide tackles Tesla charge connector repairs head-on. We break down the root causes of communication pin faults and provide a detailed step-by-step repair process to get you back on track. By following these instructions, you’ll restore your Tesla’s charging capabilities and bid farewell to inconvenient interruptions.
- Understanding Tesla Charge Connector Issues
- Diagnosing Communication Pin Faults
- Step-by-Step Repair Guide for Connectors
Understanding Tesla Charge Connector Issues

Tesla Charge Connector issues can arise due to various reasons, often centring around faulty communication pins within the connector. These pins play a crucial role in establishing a secure and stable connection between your Tesla vehicle and the charging station. Over time, wear and tear, exposure to harsh weather conditions, or damage during installation/removal can cause these pins to malfunction. This results in charging problems, with the vehicle not recognizing the charger or experiencing intermittent connections.
Many owners might initially consider taking their vehicle to a vehicle body shop or even attempting a classic car restoration for repairs. However, for modern electric vehicles like Teslas, specialized Tesla charge connector repair services are recommended. Such services ensure that the repair is done accurately and safely, addressing not just the visible symptoms but also the underlying causes of the issue. Car bodywork services specializing in electric vehicle maintenance have the tools and expertise to diagnose and fix these connectors efficiently, ensuring your Tesla is ready for seamless charging once again.
Diagnosing Communication Pin Faults

Diagnosing communication pin faults is a critical step in Tesla charge connector repair. These pins are responsible for transmitting data and power between the vehicle and the charging station, ensuring a seamless charging experience. If the connection is faulty, it can lead to issues like slow charging or even complete disconnection. Mechanics trained in Tesla charge connector repair use diagnostic tools to check for voltage levels, resistance, and signal strength at each pin. This process involves inspecting the physical connections, cleaning corroded pins, and replacing any damaged parts within the connector housing.
A thorough understanding of electrical systems and vehicle diagnostics is essential for accurate identification of problems. In many cases, a faulty communication pin might be due to wear and tear or damage from environmental factors, such as moisture or extreme temperatures. Unlike issues in a collision center or general vehicle body repair, auto painting is not directly relevant here, but ensuring proper connection is vital to maintain the charging functionality of Tesla vehicles, making this an important aspect of specialized electrical repairs.
Step-by-Step Repair Guide for Connectors

Repairing a Tesla charge connector when it experiences faulty communication pins is a straightforward process that can be accomplished with the right tools and a few simple steps. First, locate the damaged connector and assess the extent of the issue. If there’s visible wear or damage, particularly around the communication pins, this indicates the need for repair.
Next, gather your tools: a set of precision tweezers, isopropyl alcohol, and a clean cloth. Carefully remove any debris from around the pins using the tweezers and clean the area with isopropyl alcohol to ensure no residue remains. Once prepared, reinsert the pins gently into their respective slots, ensuring proper alignment. After careful inspection for any misalignments or damages, secure the connector with appropriate adhesive designed for automotive use. Allow ample time for the adhesive to dry before testing the connection with your Tesla vehicle. This step-by-step guide guarantees a successful Tesla charge connector repair, eliminating issues related to faulty communication pins and ensuring smooth charging sessions.
Repairing a faulty Tesla charge connector, especially the communication pins, is a viable DIY project that can save owners time and money. By understanding common issues and following a structured repair guide, you can effectively navigate the process. Remember, quick action on pin faults can prevent more serious problems down the line, ensuring your Tesla’s charging remains seamless and efficient. For those seeking a deeper dive into Tesla charge connector repairs, this comprehensive guide offers a solid starting point.